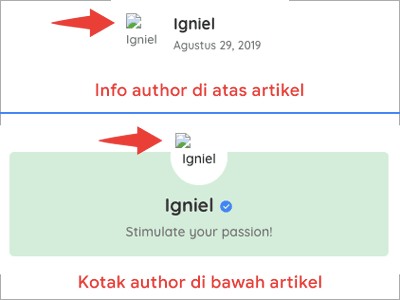
Most Blogger templates feature an author profile in them. This includes the author's profile photo or avatar. Sometimes there are still people who haven't arranged the photo so that it looks like the image is broken, for example like this.

Don't be annoyed at the template used. This is purely because of the Blogger account settings. You haven't installed a profile photo yet, so the appearance is broken. So that the photo appears and looks better, see the following tutorial from igniel.com on how to change an avatar on Blogger.
Adding an Avatar Photo to a Blogger Profile
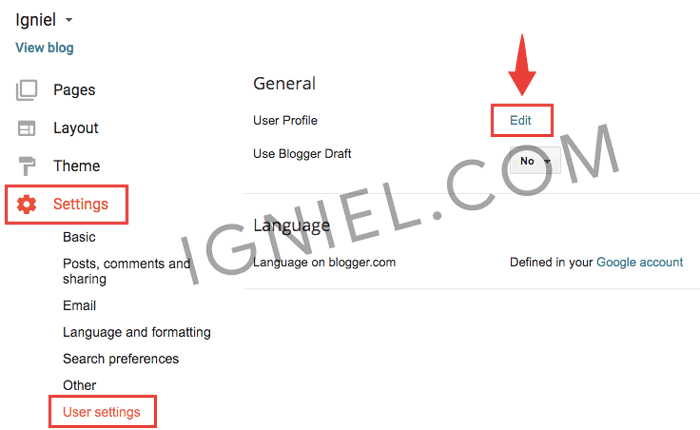
- Open the Blogger dashboard and go to menu
Settings»User settings»User Profilethen clickEdit.

- You will be taken to a new window. Scroll to the section named
Profile Photoand select a methodFrom your computer. Click the buttonChoose Fileand select the location to save the photo. - If you want to upload a photo via URL (the photo is already hosted elsewhere), select it
From the web. Paste an image URL below.and write the photo URL in the box provided. - After the photo is finished uploading, scroll down the page and click the button Save Profile.
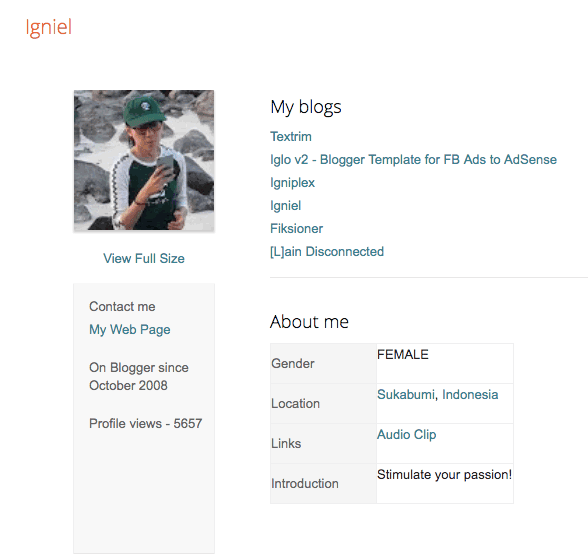
- If successful, a notification will appear. Try clicking
View Updated Profileto see how your Blogger profile will appear publicly.
This is my example.

At this point, your problem with the author's avatar image in the Blogger template has been resolved. Hope it helps even if it's just a little.